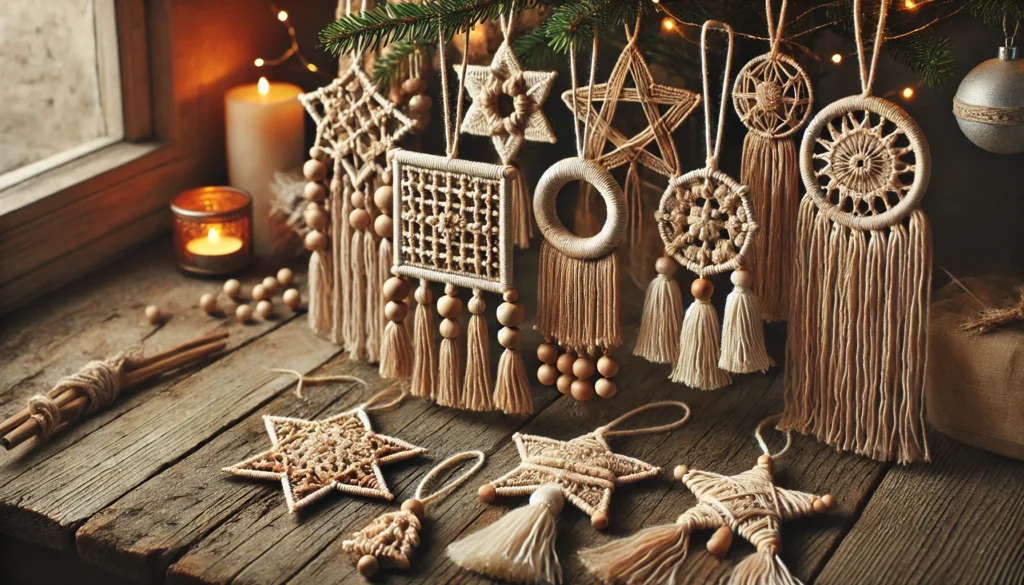
This holiday season, why not add a touch of bohemian charm to your Christmas tree? DIY macramé ornaments are a perfect way to bring a natural, rustic vibe to your decor while showcasing your creativity. These ornaments are easy to make and can be customized with neutral threads and wooden beads to suit your style. Follow this guide to create your own simple yet stunning macramé ornaments that will elevate your tree’s boho aesthetic.
Materials You’ll Need:
- Neutral macramé cord or cotton thread
- Wooden beads (natural or painted)
- Scissors
- Small key rings or hoops (optional, for hanging)
- Ruler or measuring tape
- Hot glue gun (optional, for securing knots)
Step 1: Choose Your Design
Decide on the macramé designs you want to create. Popular options include:
- Miniature Wall Hangings: A small version of traditional macramé wall art.
- Boho Tassels: Simple tassels with added beads.
- Christmas Shapes: Think stars, snowflakes, or trees.
Keep your skill level in mind and start with simple knots if you’re a beginner.
Step 2: Cut Your Cord
Measure and cut your macramé cord. The length will depend on your chosen design:
- For a basic ornament: Cut about 4-6 cords, each 2 feet long.
- For tassels or more intricate designs: Adjust the length based on your pattern.
Step 3: Attach the Cord
If you’re using a key ring or hoop, attach the cords using a lark’s head knot:
- Fold the cord in half.
- Place the loop through the ring or hoop.
- Pull the loose ends through the loop to secure it.
Repeat this with all your cords.
Step 4: Knot Your Design
Start knotting your cords based on your design. Here are some basic knots to use:
- Square Knot: Ideal for creating flat, symmetrical patterns.
- Half Hitch Knot: Perfect for adding texture.
- Spiral Knot: Great for a twisted look.
Combine knots creatively to form patterns or shapes like stars or trees.
Step 5: Add Wooden Beads
Thread wooden beads onto the cords to enhance your design. Space them evenly for a polished look, or cluster them for a unique touch. Secure the beads by tying a knot below each one.
Step 6: Finish the Ornament
When you’re satisfied with your design:
- Trim any excess cord for a clean finish.
- Optionally, use a hot glue gun to secure the ends of knots.
- Add a small loop of cord or a hook for hanging.
Step 7: Decorate Your Tree
Hang your completed macramé ornaments on your Christmas tree. Their neutral colors and natural textures will complement traditional greenery, fairy lights, and other rustic decorations.
Bonus Ideas:
- Use Colored Thread: Add pops of color by incorporating red, green, or gold threads into your designs.
- Personalized Ornaments: Add initials or small charms for a personalized touch.
- Gift Tags: Attach these macramé ornaments to presents as unique, reusable gift tags.
DIY macramé ornaments are a wonderful way to add bohemian flair to your holiday decor. These handmade creations are not only beautiful but also meaningful, as they showcase your time and effort. Whether you’re decorating your tree, gifting them to loved ones, or using them as part of your holiday decor, macramé ornaments are sure to bring joy and warmth to the season. Happy crafting!
Ready to try more DIY holiday projects? Check out our other festive tutorials for creative and stylish holiday decor ideas!

