

This website contains affiliate links. As an Amazon Associate, I earn from qualifying purchases at no additional cost to you.
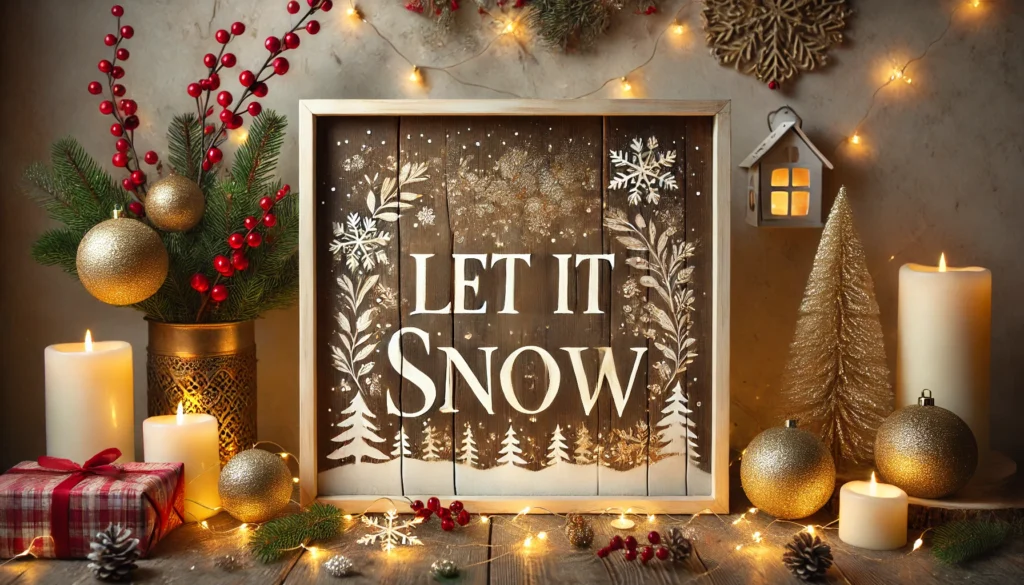
Add a personal and festive touch to your holiday decor with custom wall art that features your favorite holiday quotes. Whether it’s “Joy to the World,” “Let It Snow,” or another seasonal phrase, this DIY project is a simple yet elegant way to brighten your space. With a few materials and some creativity, you can craft art that’s perfect for your home or as a gift for loved ones. Let’s get started!
Materials You’ll Need:
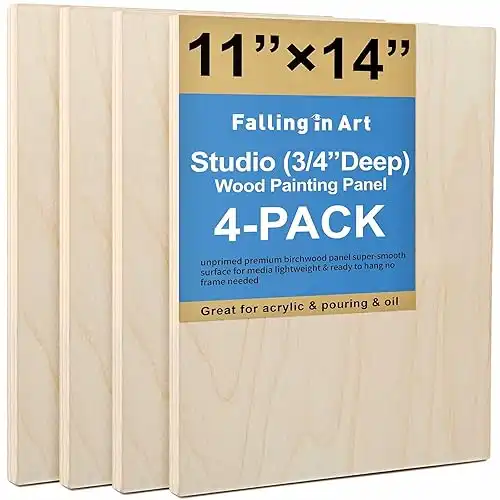
- Wood panels or canvases: Choose from a variety of affordable wood panels available online in a size that fits your space, like 12″x12″ or larger for a bold statement.
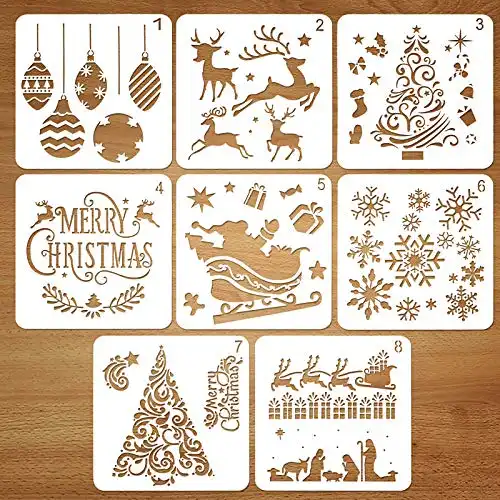
- Stencils with holiday phrases or letters: Reusable stencils make it easy to achieve professional results.
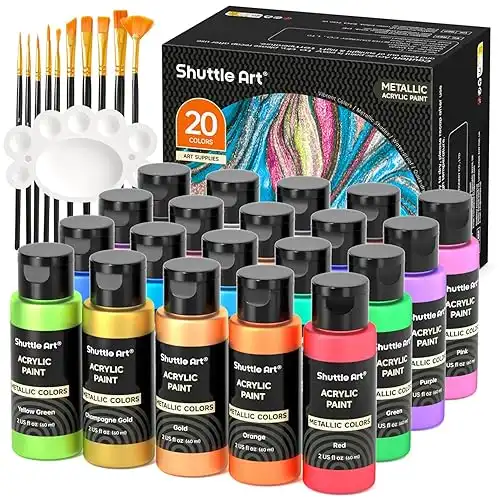
- Metallic paint: Opt for high-quality metallic paints in gold, silver, or red to achieve a polished finish.
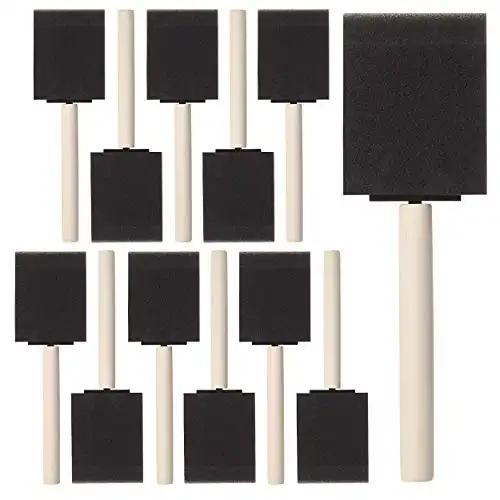
- Paintbrushes or sponges: Sponge brushes are ideal for even paint application.
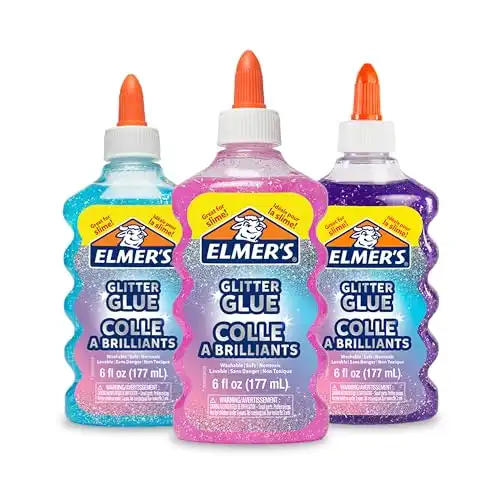
- Glitter or glitter glue: Adds sparkle to your design.
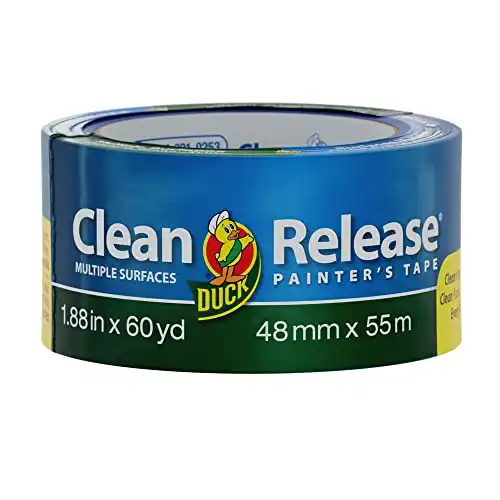
- Painter’s tape: Helps keep your stencil secure.
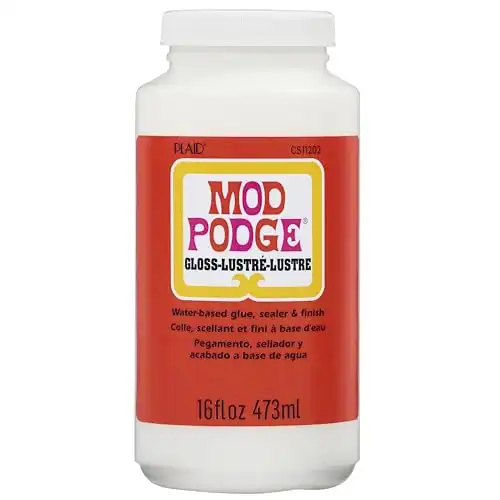
- Clear varnish or Mod Podge: Seals and protects your artwork.
- Hooks or nails: For hanging your finished piece.
- Optional: Fairy lights or small LED string lights: Perfect for adding a magical glow.
Step 1: Choose Your Design
Decide on the phrase or quote that resonates with your holiday spirit. Popular options include:
- “Joy to the World”
- “Let It Snow”
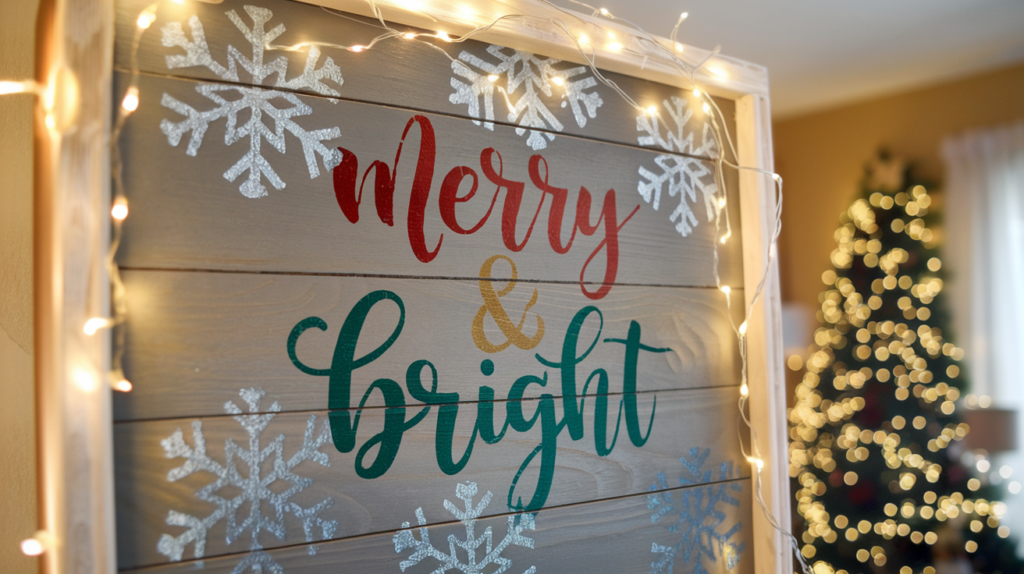
- “Merry & Bright”
- “Deck the Halls”
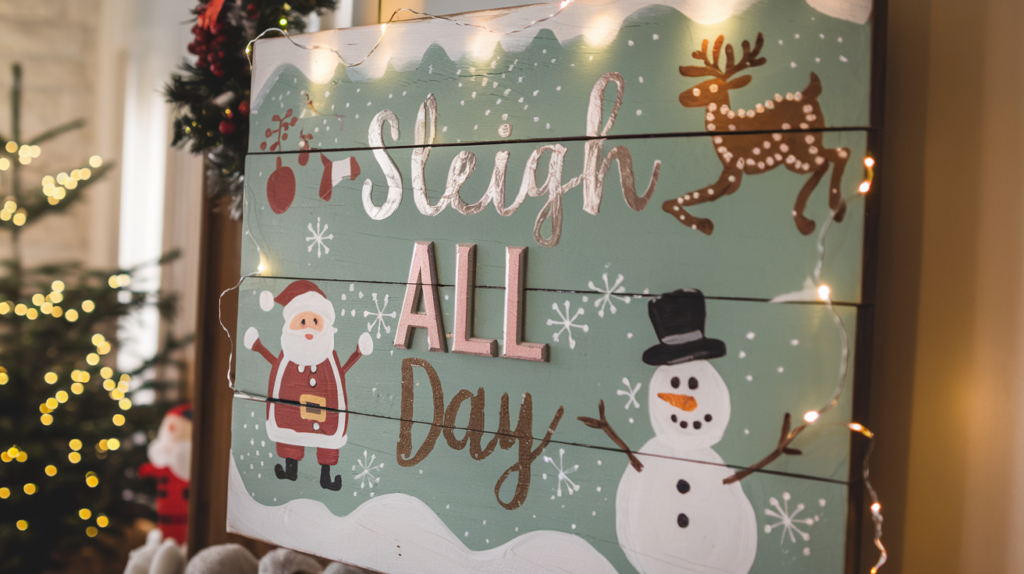
For something a little more humorous, try the following:
- “Sleigh All Day”
- “Resting Grinch Face”
- “Let’s Get Lit”
- “Santa’s Cookie Stop”
Consider the overall vibe of your decor. For a rustic look, choose a stencil with bold, vintage lettering. If you prefer a modern aesthetic, opt for sleek, minimalist fonts. Reusable stencil kits can be a great investment for crafting multiple projects.
Step 2: Prepare Your Surface
If using wood panels:
- Using a fine grit sanding block, sand the surface lightly to ensure smoothness.
- Wipe off dust with a clean cloth.
- Apply a base coat of paint or stain to match your decor theme. For example, a deep walnut stain creates a rustic look, while a white base adds a modern touch.
If using a canvas:
- Prime the surface with a base color, such as a soft neutral or festive red.
- Allow the paint to dry completely before moving to the next step.
Step 3: Position Your Stencil
Secure your stencil with painter’s tape to keep it in place while you paint. Make sure it’s centered and aligned. If freehanding, lightly sketch the design with a pencil for guidance.
Pro Tip: Use a level or ruler to ensure your text is perfectly straight, especially for large pieces.
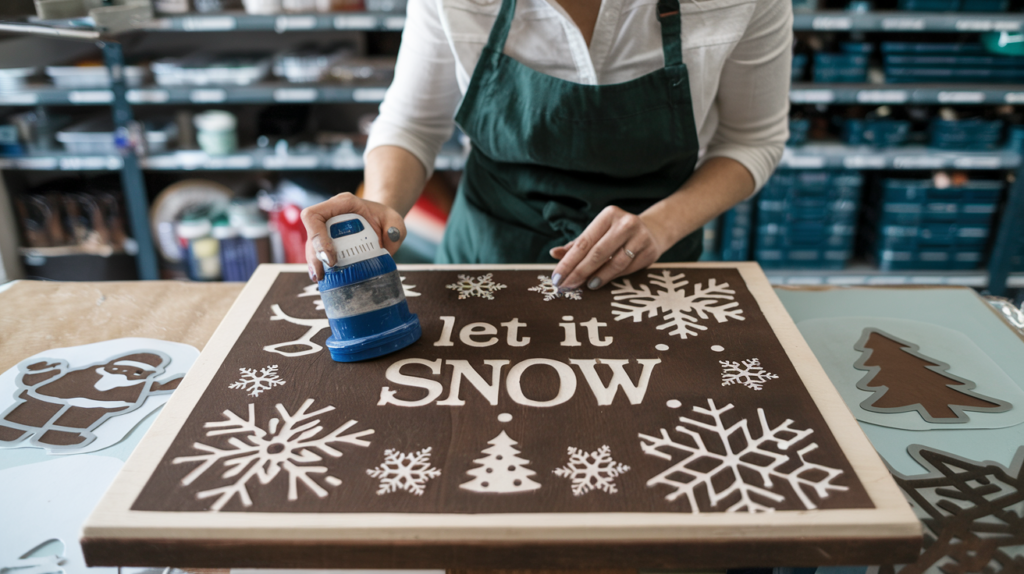
Step 4: Apply Metallic Paint
Dab metallic paint over the stencil with a sponge brush, using light, even pressure. This prevents paint from bleeding under the edges. Carefully remove the stencil while the paint is still wet to avoid smudging. Let it dry completely before proceeding.
Creative Tip: For a gradient effect, blend two metallic paints, like gold and silver, along the edges of the letters.
Step 5: Add Glitter Accents
Highlight specific parts of your design with glitter. Apply a thin layer of Mod Podge or glitter glue to areas you want to sparkle, like the edges of letters or surrounding motifs. Sprinkle glitter over the adhesive and gently shake off the excess. Allow it to dry thoroughly.
Step 6: Add Fairy Lights (Optional)
For an extra magical touch, attach small LED string lights around the edges of your art. Use adhesive hooks or clips to secure the lights discreetly. These battery-operated lights are easy to install and add a cozy glow to your decor.
Step 7: Seal and Finish
Apply a layer of clear varnish or Mod Podge over the entire surface to protect your design. This step enhances the durability of your artwork and gives it a professional finish. Attach hanging hardware, such as sawtooth hooks, to the back of your panel or canvas.
Step 8: Display Your Art
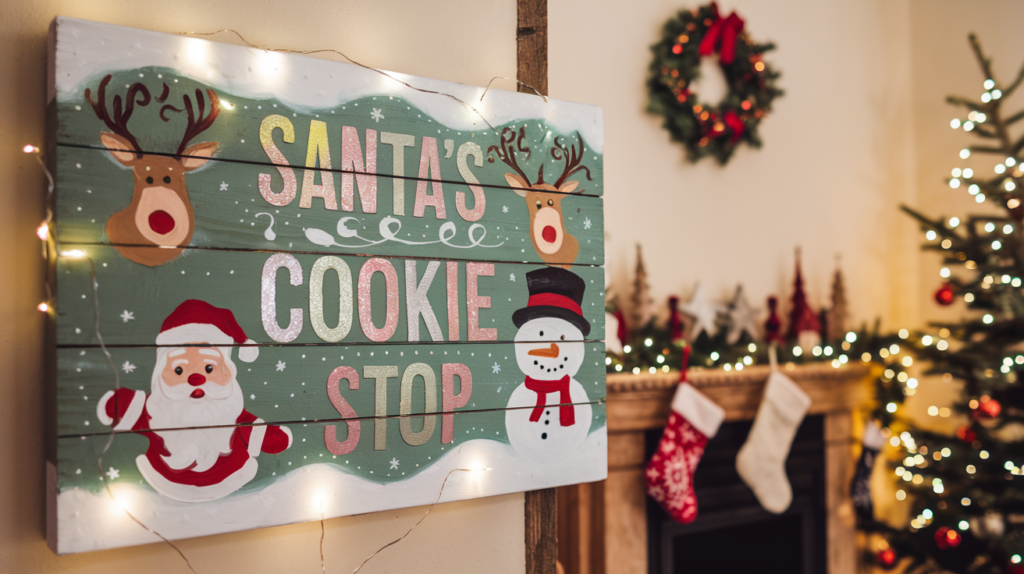
Show off your custom holiday wall art in a prominent spot, such as above your fireplace, in your entryway, or as part of a gallery wall. The metallic paint, glitter accents, and optional fairy lights will make it a festive focal point in your home.
Bonus Ideas:
- Themed Displays: Create a matching set of wall art with different phrases for a cohesive look.
- Personalized Gifts: Customize the art with names, initials, or dates for a meaningful holiday present.
- Layered Designs: Add depth by using multiple stencils for layered effects, like snowflakes or holly leaves behind the text.
- Non-traditonal color schemes: personalize your wall art with whimsical pastel colors or an elegant combination of black and gold.
DIY holiday wall art is a fantastic way to showcase your creativity and bring festive cheer to your home. With the right materials—many of which can be found online—you can create stunning, personalized pieces that perfectly suit your style. Ready to get started? Check out some of our recommended supplies below for your next crafting session!
![MUMUXI LED Fairy Lights Battery Operated String Lights [12 Pack] 7.2ft 20 Battery Powered LED Mini Lights, Centerpiece Table Decorations, Wedding Party Bedroom Mason Jar Christmas, Warm White](https://styleitcraftit.com/wp-content/uploads/2024/12/51rmuQsQCSL._SL500_.webp)
Looking for more DIY holiday decor ideas? Browse our blog for creative projects to make your home merry and bright!