
This website contains affiliate links. As an Amazon Associate, I earn from qualifying purchases at no additional cost to you.
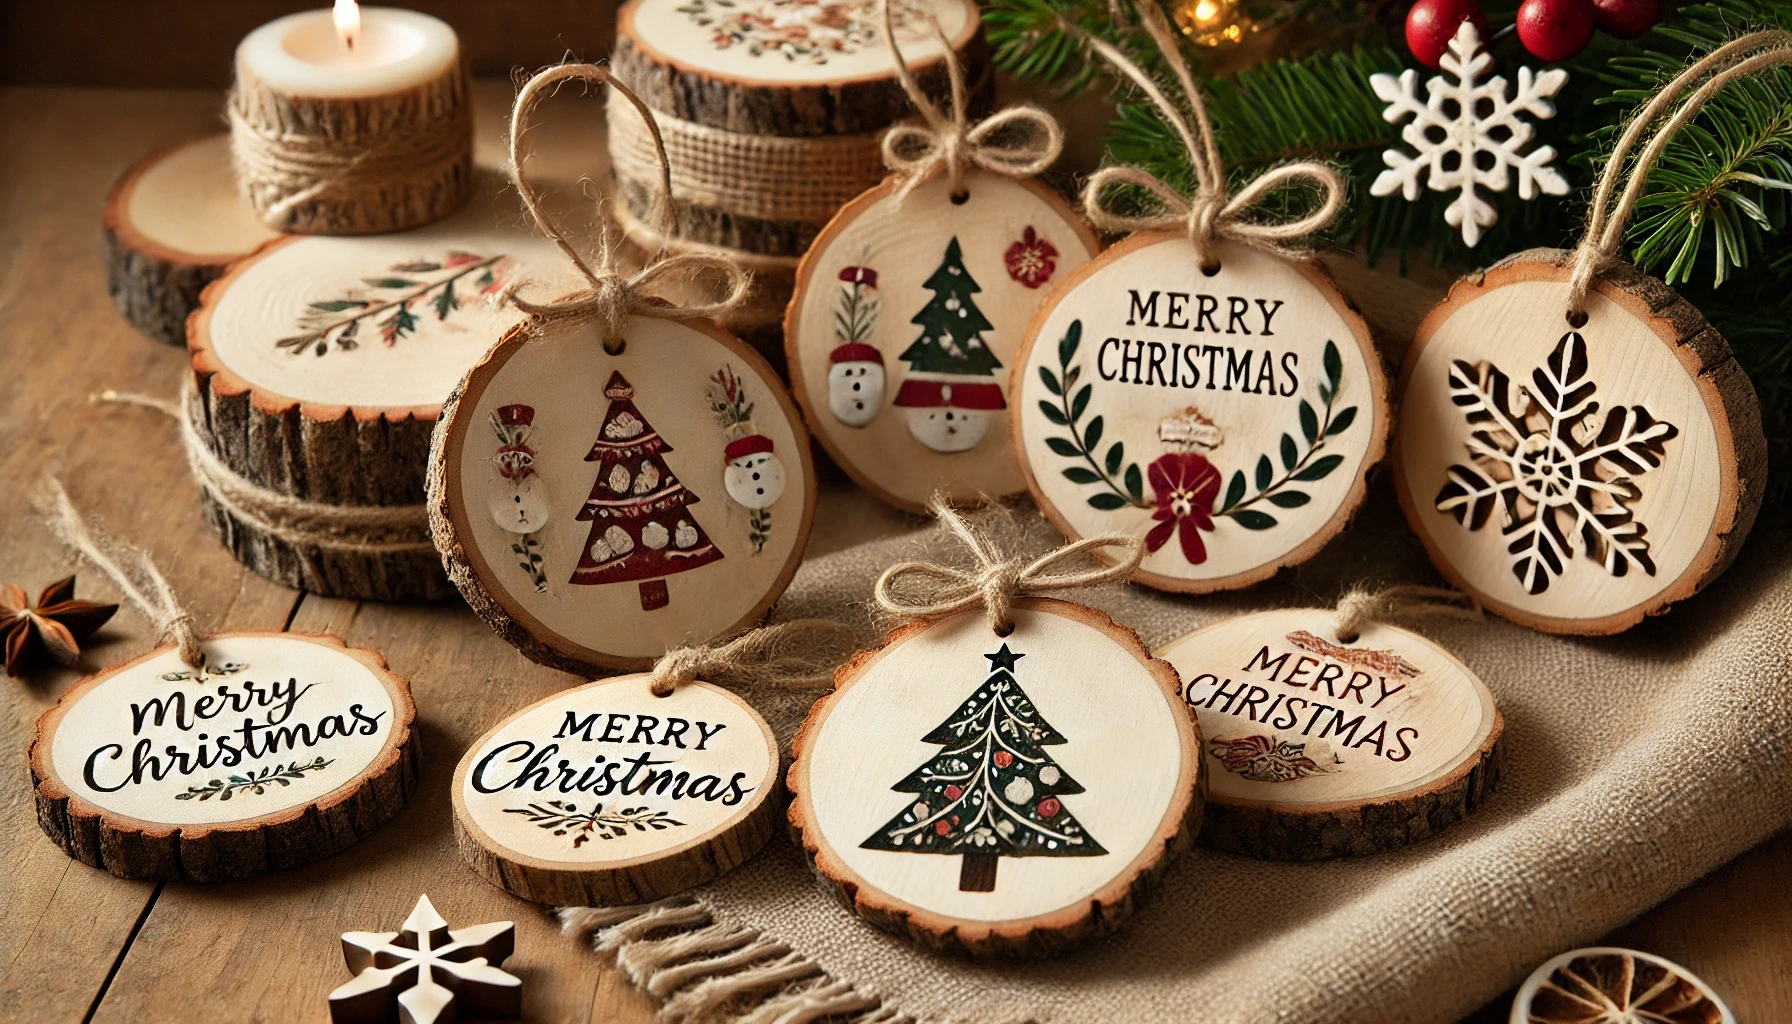
Wood slice ornaments are a beautiful way to bring a cozy, rustic feel to your holiday decor. These easy-to-make decorations can be customized with painted designs, holiday messages, or even small photos, making them a heartfelt addition to your tree or a thoughtful gift for loved ones. With a little creativity and a wood-burning tool, you can add a personal touch that makes each ornament truly unique. Follow this guide to craft your own wood slice ornaments for the holiday season!

Materials You’ll Need:
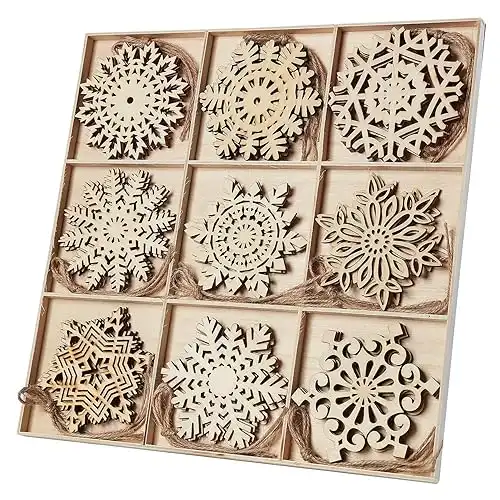
- Wood slices (available at craft stores or cut from fallen branches)
- Acrylic paint and brushes
- Stamps and holiday ink pads (optional)
- Small wooden christmas cutouts (optional)
- Small photos (printed to fit the wood slices)
- Mod Podge or clear varnish
- Hot glue gun
- Twine, ribbon, or hooks for hanging
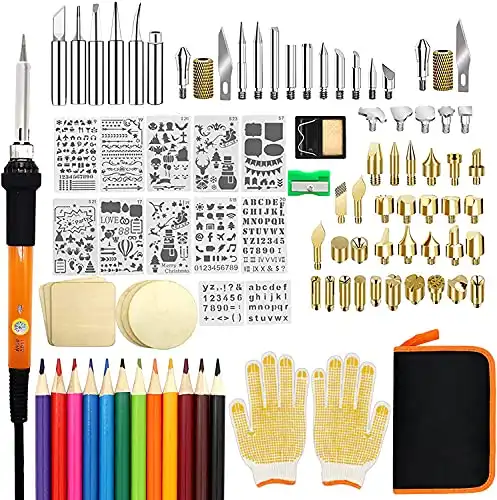
- Wood-burning tool (optional, for personalization)
- Sandpaper (optional, to smooth surfaces)
Step 1: Prepare Your Wood Slices
If you’re using raw wood slices, sand them lightly with fine-grit sandpaper to ensure a smooth surface for painting or stamping. Wipe away any dust before you begin.
- Tip: Choose slices that are at least 1/4-inch thick to prevent cracking.
Step 2: Plan Your Design

Decide how you want to decorate your ornaments. Here are a few ideas to inspire you:
- Painted Designs: Create festive images like snowflakes, trees, or reindeer.
- Stamped Messages: Use holiday-themed stamps to add cheerful phrases like “Joy,” “Noel,” or “Merry & Bright.” Alternatively, make your ornaments more personal by including the names of family members.
- Photo Ornaments: Cut small photos to size and glue them onto the wood slices for a personal touch.
- Non-traditional colors: Use whimsical colors like pastel pinks, blues, and greens, or go for a more boho vibe with simple designs and natural tones.
Step 3: Paint or Stamp Your Ornaments
For painted designs:
- Sketch your design lightly with a pencil, or go freehand if you’re confident.
- Use acrylic paints to fill in your design. Allow the paint to dry before adding additional details.
For stamped designs:
- Dip your stamp into the ink pad and carefully press it onto the wood slice.
- Allow the ink to dry completely to avoid smudging.
Step 4: Add Personalization (Optional)
Use a wood-burning tool to engrave names, initials, or holiday messages into the wood. Practice on a scrap piece first to get the hang of it.
- Tip: If you’re gifting these ornaments, personalize them with the recipient’s name or a special date for a meaningful touch.
Step 5: Seal Your Ornaments
Apply a layer of Mod Podge or clear varnish to protect your design and give the ornament a polished finish. This step is especially important if you’re using painted or stamped designs.
Step 6: Attach a Hanger
Use a hot glue gun to attach a loop of twine, ribbon, or a metal hook to the top of each wood slice. For a rustic look, opt for natural jute twine.
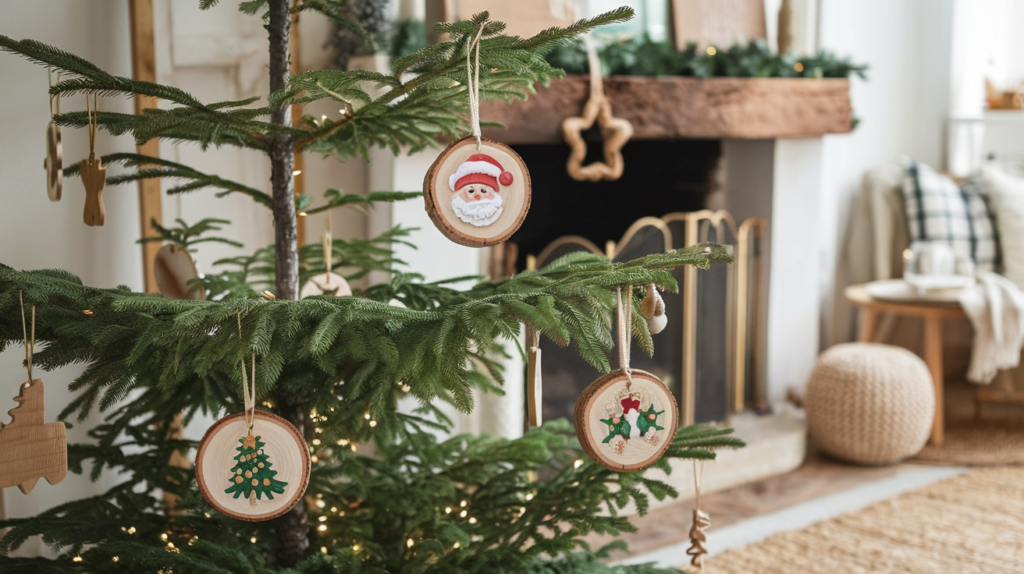
Step 7: Display or Gift Your Ornaments

Hang your completed ornaments on your Christmas tree, add them to holiday gift wrapping, or package them as unique, handmade gifts for family and friends.
Bonus Ideas:
- Rustic Gift Tags: Use wood slice ornaments as decorative gift tags that double as keepsakes.
- Themed Sets: Create a set of ornaments with a consistent theme, like snowy scenes or woodland animals.
- Family Activity: Turn this into a fun craft project for the whole family to enjoy!
DIY wood slice ornaments are a creative and heartfelt way to decorate for the holidays. Their rustic charm and endless customization options make them a perfect addition to your tree or a thoughtful gift for loved ones. Ready to unleash your creativity and start crafting your own holiday magic? Check out our recommended supplies below and get crafting!


Looking for more DIY holiday decor ideas? Explore our blog for creative and festive projects to make your season merry and bright!