
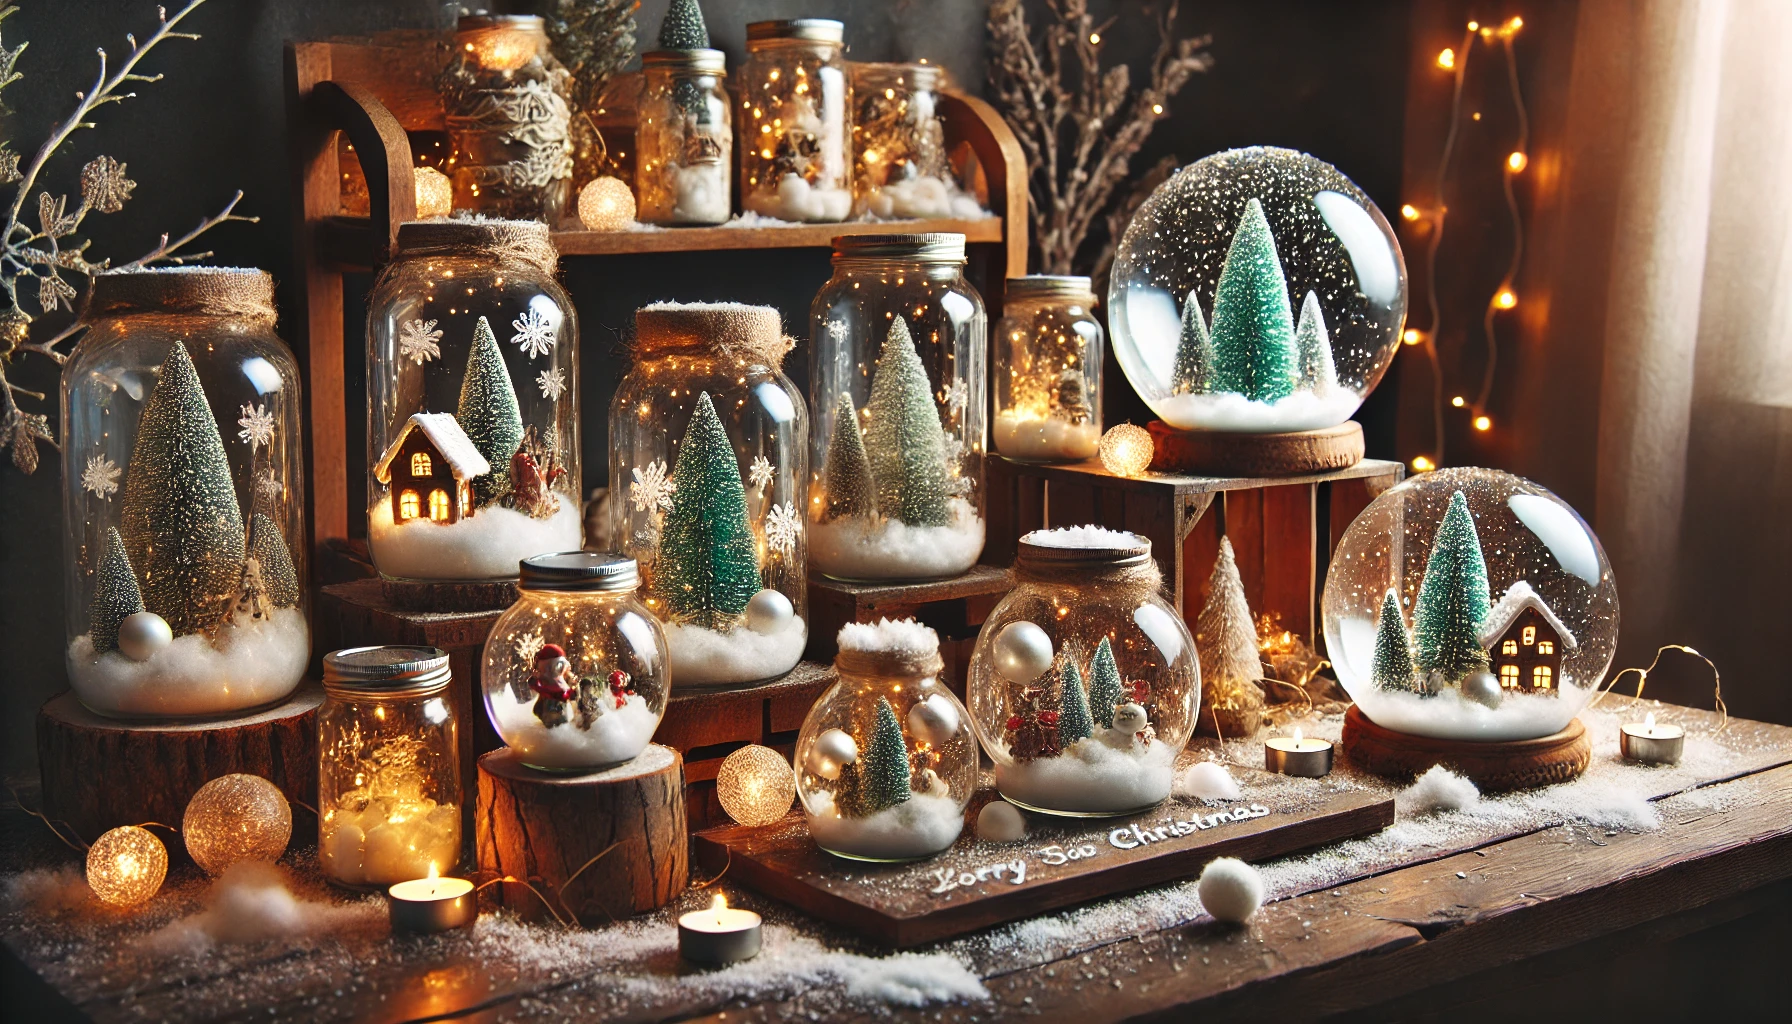
Snow globes are timeless holiday decorations that add a touch of magic to any space. With just a few simple materials, you can create your own enchanting mason jar snow globes, perfect for shelves, tables, or festive centerpieces. This easy DIY project is not only fun to make but also a great way to personalize your holiday decor. Follow these steps to craft your own charming mason jar snow globes!
Materials You’ll Need:
- Mason jars (any size)
- Faux snow or glitter
- Bottle brush trees (small enough to fit inside the jars)
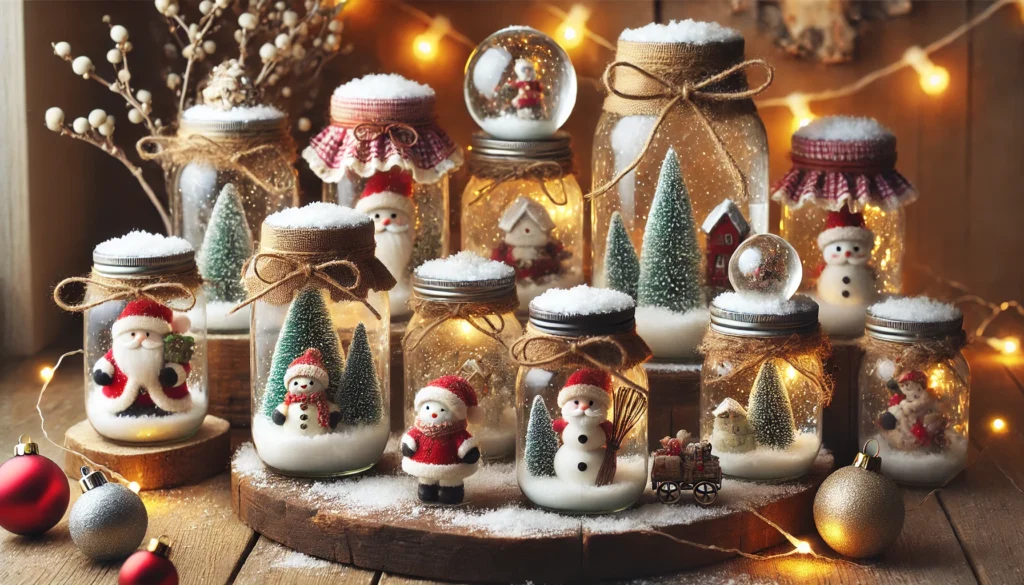
- Miniature figurines (Santa, snowmen, deer, etc.)
- Hot glue gun and glue sticks
- Ribbon or twine for decoration
- Optional: Fairy lights, small ornaments, or stickers for extra charm
Step 1: Prepare the Mason Jars
Clean and dry your mason jars to ensure there’s no residue. Remove the lids and set them aside. If you want to add a splash of color, you can spray-paint the lids in festive shades like gold, red, or green.
Step 2: Select Your Decorations
Choose bottle brush trees and miniature figurines that fit comfortably inside your jars. Consider a theme for each snow globe—rustic, traditional, or whimsical—and select decorations accordingly.
Step 3: Glue the Decorations
Using a hot glue gun, attach your bottle brush trees and figurines to the underside of the jar lids. Place taller items like trees in the center and smaller figurines around them. Allow the glue to dry completely.
Step 4: Add Faux Snow
Fill the mason jar with faux snow, glitter, or a mix of both. Be careful not to overfill—about 1/4 to 1/3 of the jar should be enough to create a snowy effect without obstructing the decorations.
Step 5: Assemble the Snow Globe
Carefully screw the lid back onto the mason jar with the glued decorations inside. Turn the jar upside down to check the placement of your items. If anything looks off, you can unscrew the lid and adjust.
Step 6: Decorate the Exterior
Wrap a ribbon or twine around the rim of the mason jar for an added festive touch. You can also attach small bells, tiny ornaments, or sprigs of greenery for extra charm. If you’d like, add stickers or paint snowflakes on the outside of the jar for more detail.
Step 7: Arrange Your Snow Globes
Display your finished snow globes on shelves, tables, or as part of a centerpiece. For a magical glow, add fairy lights around the jars or place them on a mirrored tray to reflect the light. Group several snow globes together for a whimsical winter scene.
Bonus Ideas:
- Gift Option: These snow globes make wonderful homemade gifts! Add a personalized tag or label for a special touch.
- Custom Themes: Create snow globes with themes like a winter wonderland, woodland animals, or a classic Christmas village.
DIY mason jar snow globes are a fun and creative way to add a touch of holiday magic to your home. Whether you use them as decorations, gifts, or centerpieces, these charming crafts are sure to bring joy to anyone who sees them. Gather your materials, unleash your creativity, and start crafting your own winter wonderland today!
Love DIY holiday crafts? Check out more festive tutorials on our blog to make your home merry and bright!